Seasoning Cast Iron Cookware
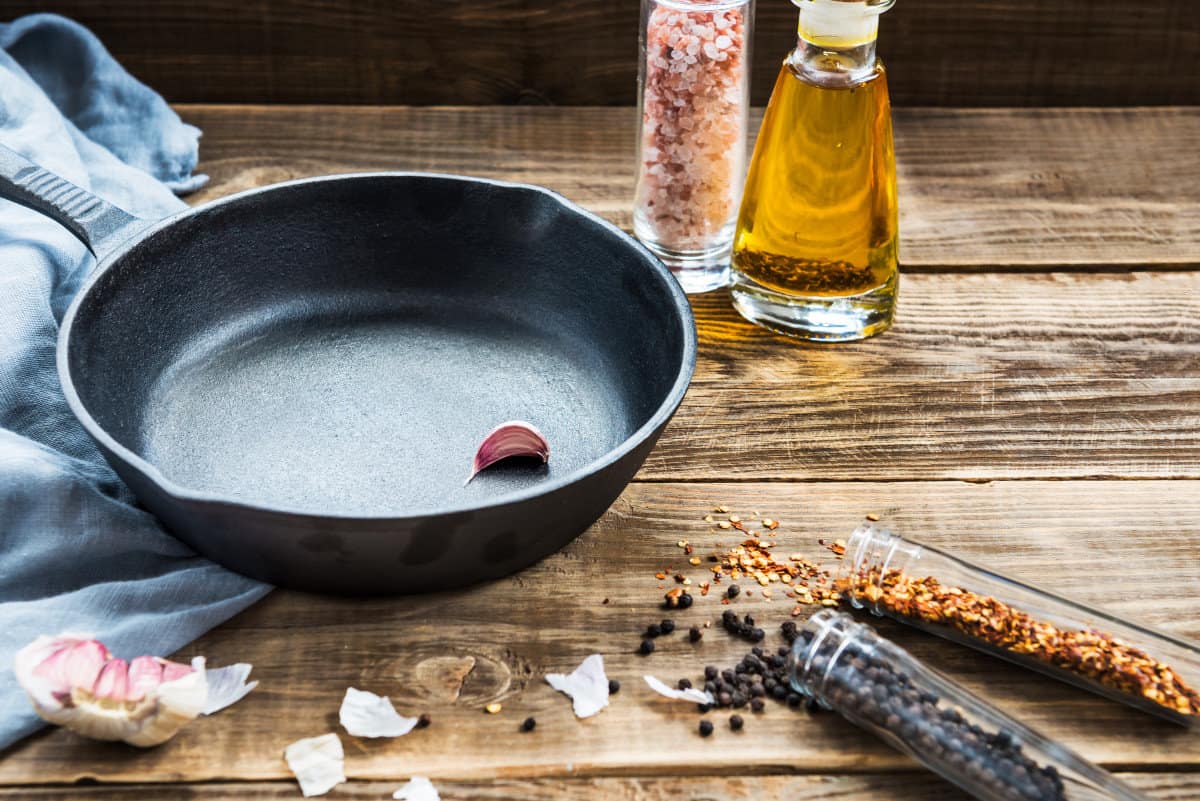
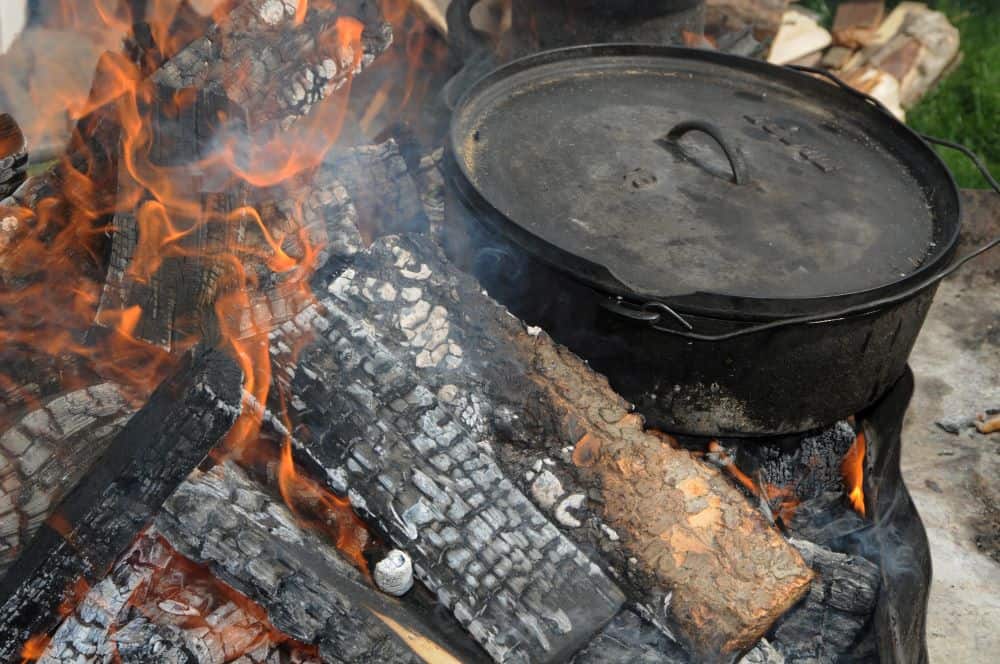
Cast Iron pans are an excellent choice when it comes to cooking and are especially useful when you’re away camping and you’re looking to create a tasty meal around the campfire. However, when it comes to seasoning your cherished cast iron cookware, it doesn’t have to be difficult or time consuming.
To season a cast iron cookware correctly, begin by washing the cookware’s surface with warm soapy water and allow it to fully dry. Then, apply cooking oil to the surface of the cookware and place it in a preheated oven. Once in the oven, allow it to bake for one hour. After this, leave it to cool and dry.
Your skillet will serve you well for many years, as long as you take good care of it. In this article, we’ll discuss why seasoning cast iron cookware is crucial, how to season properly, and how to cook and care for one.
Why Should You Season Cast Iron Cookware?
No doubt, cast iron skillets and dutch ovens are the best pots to take camping. They retain heat because they are dense and heavy, compared to aluminum pans. They are strong and economical and also deliver a better color and sear to food. To enjoy all these benefits, seasoning your cast iron cookware is necessary.
Here are some other reasons why seasoning your cast iron pots and pans should be on your to-do list:
To Prevent Rust
As impressive as cast iron is, it will eventually lose its sheen and end up corroding since iron is highly reactive. Cast Iron will rust within minutes, if left exposed, due to oxygen and moisture in the air. To prevent the onset and spread of rust, you should consider seasoning your cast iron 2-3 times a year or whenever you notice dulled spots.
To Prevent Food from Sticking on Pans
Although cast iron cookware possess excellent nonstick qualities, there is still a need to season them. When you fry on unseasoned cast iron pans, there is a tendency for food to stick to the pot or pan; hence making the pan difficult to clean.
So how do you ensure your skillet remains clean and rust-proof?
Seasoning Cast Iron: Step-by-step
Seasoning cast iron is not complicated. In fact, as you cook with oil you’re adding more seasoning to your pan. This is the simplest method. However, we advise oven-seasoning if you really want to do it right. Oven seasoning also prevents rusty pans.
This method involves three steps: Wash, Oil, and Bake. Before we go into the process itself, here are the materials you need:
- Kosher salt
- Warm soapy water
- Dish sponge or scrub brush
- Paper towels and/or a dishcloth
- Cooking oil
- Oil brush
- Oven; preheated to about 3500F / 1800C
- Aluminum foil
Step 1: Wash
The first step in seasoning your cast iron cookware is by removing any old food residue. If there are chunks of food stuck to it, from previous cooking, use paper towels or a dishcloth to wipe them off. If this proves difficult to remove, heat up the pan slightly. The heat will loosen up and lift any stubborn dirt. Afterwards, you can wash the pan using a firm dish brush, chain mail scrubber, and warm water.. If your pan is new, just wash it in warm, soapy water, rinse, and allow it to dry completely. You can put it over a medium heat for it to fully dry.
Perhaps your skillet is already showing signs of rust? Don’t fret! Pour in some kosher salt and rub the salt over the pan’s surface in circles with a dishcloth. Rub down until most of the rust is gone, and you can see the metal. Now rinse in warm soapy water; you don’t need to scrub.
You can add oil to the salt, heat the pan up, or just use salt on its own when rubbing.; whichever works for you. Some folks use a scouring pad, but we don’t advise using strong abrasives on your skillet as it will mark the surface.
Step 2: Oil
The next step, after drying, is to apply cooking oil to your pan. You can spray or rub it on using kitchen paper or a paper towel.
Unsaturated cooking fats, like vegetable oil or canola oil, work well and are easier to spread than lard or other saturated fats. Avoid using butter, coconut oil, or extra-virgin olive oil; they don’t coat well.
Lightly coat your skillet all over. Make sure you apply a thin layer of oil to prevent pooling which may make your pan sticky. Touch the pan to ensure it feels nearly dry. If it doesn’t, buff off the excess oil by rubbing it with kitchen paper.
Ensure you coat the pan’s underside and the handle if it’s made from cast iron, to prevent rust from setting in on those surfaces.
If you are going to spray the oil onto your pan instead of rubbing, don’t use a commercial cooking spray as it contains other ingredients. Instead, use a pure cooking oil in a spray bottle.
Step 3: Bake
Preheat your oven to 350°F / 180°C / gas mark 4 for about 30 minutes. Place your oiled pan upside-down in the preheated oven and allow it to bake for 1 hour at 450°- 500°F / 230-260°C / gas mark 9. Turning the pan upside-down isn’t compulsory. It’s just to be triple sure there are no oil pools in the pan, after buffing away the excess oil. Don’t forget to place an aluminum foil or baking sheet below to catch any oil drips.
Ensure your kitchen is well-ventilated because this step produces a lot of smoke. Seasoning pans on stove burners or campfires won’t be effective because it results in uneven seasoning. If you want to do it well, use an oven.
Once the set time has lapsed, switch off the oven and leave the pan to cool before taking it out. For new pans, a single 1-hour heating will suffice. However, if you want to, you can repeat the oiling and heating steps 3 or 4 times.
In this case, set the oven to 4500F / 230°C / gas mark 8 and heat the oiled pan for 30 minutes. Then bring it out and re-coat it with oil the same way as the first time. Remember to handle the pan carefully, as it is scalding. After repeating the steps as often as you want, leave it to cool in the oven.
Once it has cooled down, your cast-iron skillet is ready for use.
Cooking with Cast Iron
When cooking with cast iron cookware, there are a few tips you should know:
- What food to cook and what food to avoid
- How to begin cooking
- After cooking
Food To Cook With Cast Iron Cookware and Food to Avoid
The table below summarizes the types of food you can cook in a cast iron skillet and those you should avoid.
| Food You Can Cook With a Cast Iron Skillet | Food to Avoid |
| Fried chicken Dry desserts like skillet cookies Dutch baby pancakes Pan pizza Crepes Spanish Tortilla Bibimbap Lasagna Oatmeal S’mores Paninis | Tomatoes Lemon juice Wine Vinegar Eggs Crisps Delicate fish such as sole and salmon Sticky desserts such as crumbles |
Adapted from Food Network and Southern Living.
Acidic foods like tomatoes, lemon juice and vinegar wear down the pan’s seasoning. Avoid simmering tomato sauce in a cast iron pot.
When searing meat, for example, allow the heat to build up and cook the side on the pan’s surface to a nice crispy brown. Once the meat is cooked well, it will raise itself when you try to flip it over. If it doesn’t lift easily, don’t force it, that side of the meat isn’t cooked yet.
Sharing the same skillet between very different types of food can affect the taste of certain meals. For example, if you cook trout for dinner one night and then use the same pan to make an apple crumble the next day, you might taste the fish flavor.
This is because the surface pores of cast iron open when heated, allowing fats and flavors to permeate. We would recommend you buy a separate special skillet for food with intense flavors and smells to avoid issues like these.
It may sound obvious, but worth noting, cast iron should never be used for marinating food.
If food particles begin to stick, rust starts to show, or you notice a metallic taste, it is time to re-season.
How to Begin Cooking
Cast iron heats up unevenly but retains heat well. When you want to cook with a cast iron skillet, preheat it first on a low to medium heat for about 5-10 minutes. This will evenly distribute the heat throughout the pan.
The video below explains how to cook with cast iron cookware:
Key Takeaway Points:
- The high temperature of oven-seasoning is needed to take the oil past its smoking point so it can readily polymerize, else the oil will turn rancid and burn.
- Avoid putting cold food on a cold cast-iron pan else it will stick. Preheat the pan before cooking with it.
- You can tell when your pan is hot and ready for cooking by hovering your hand over it.
After Cooking
Immediately after cooking with your cast iron pan, allow it to cool for a while until it is warm and safe to handle. Then clean it, allow it to dry completely before storing it.
Cleaning Cast Iron Cookware
Maintaining a cast iron skillet involves a few steps. Still, keeping this utensil in good condition will be useful to you in the future.
Tips on How to Properly Clean Cast Iron Cookware
- First and foremost, do not immerse or leave your skillet in water for an extended period because this will cause rust and ruin your cookware. It is the first rule; don’t do it.
- After cooking, clean your cookware as soon as possible while it’s still warm.
- Scrub it with mild soap and warm water using a firm brush or plastic scrubber. Do not try to wash your skillet while it is hot unless you are wearing protective gloves.
- Avoid applying too much heat or using abrasive utensils or scouring pads. You might lose some seasoning.
- When necessary, use a rust remover for rusty pans, like a carborundum rust eraser.
- Most dishwashing soaps are too strong for cast iron cookware and can ruin the seasoning. So it is best you clean cast iron with warm water and a sponge.
- Kosher salt is an excellent stain remover for stubborn and persistent mess. Rather than using soap, add some coarse kosher salt to some water and use a sponge to gently scrub to release stuck-on food particles or residue.
- You can also heat some water in the pan for the food to become loose enough. Then you can rinse everything off with just water.
- Only use mild soap as a last resort for stubborn stains, and ensure you re-season after washing.
- Ensure your cookware dries thoroughly before storage. You can also coat the surface with some vegetable oil before storing it in a dry place.
The video below has some tips and tricks on caring for a cast iron pan.
Key Takeaway Points:
- A little soap won’t hurt the pan.
- Mild heat will help loosen up any debris stuck to the pan.
- Coat the pan on a surface with oil and then bake the pan for a nice non-stick coating.
Frequently Asked Questions
Q: How often do I need to season my cast iron?
This depends on what your pan looks and feels like. For general maintenance, a well-used pan doesn’t need frequent seasoning, just once or twice. If your pan is rusty, re-seasoning it 2-4 times at once should do, depending on how rusty it is.
Q: When seasoning cast iron, what temperature should I use?
Preheat your oven to about 3500F / 180°C / gas mark 4 before placing the pan in for baking. For polymerization, the oil must be heated past its smoking point. This can get to a temperature as high as 5000F / 260°C / gas mark 10. If, after the set time, the pan feels sticky instead of smooth, it isn’t done yet. You must put the pan back in the oven and heat it a little longer.
Q: What Kind of Cooking Oil Can Be Used to Season a Cast-Iron Pan?
You can use any cooking oil to season cast iron. It all depends on what you have. Just as long as it is edible. Unsaturated oils like vegetable oil and canola oil are readily accessible, affordable, and effective. You can also use melted shortening or lard.
Avoid using butter, or coconut, extra-virgin olive, sesame, walnut, and hazelnut oils as they are ineffective.
Final Thoughts
Cast-iron pans can be used for almost all campfire cooking. They are long-lasting and versatile but they need some maintenance occasionally.
- Clean off any old food gunk on the pan with warm soapy water and a scrubbing cloth. Let it dry completely.
- Then, apply a thin film of oil to all the surfaces of the pan.
- Heat it in a preheated oven at the highest temperature for about an hour.
- Turn off the heat and let the pan cool in it.
Once it is all cool and seasoned, your pan is ready to be used. Learn to do these properly, and you’ll have pans that will last a lifetime and beyond.